
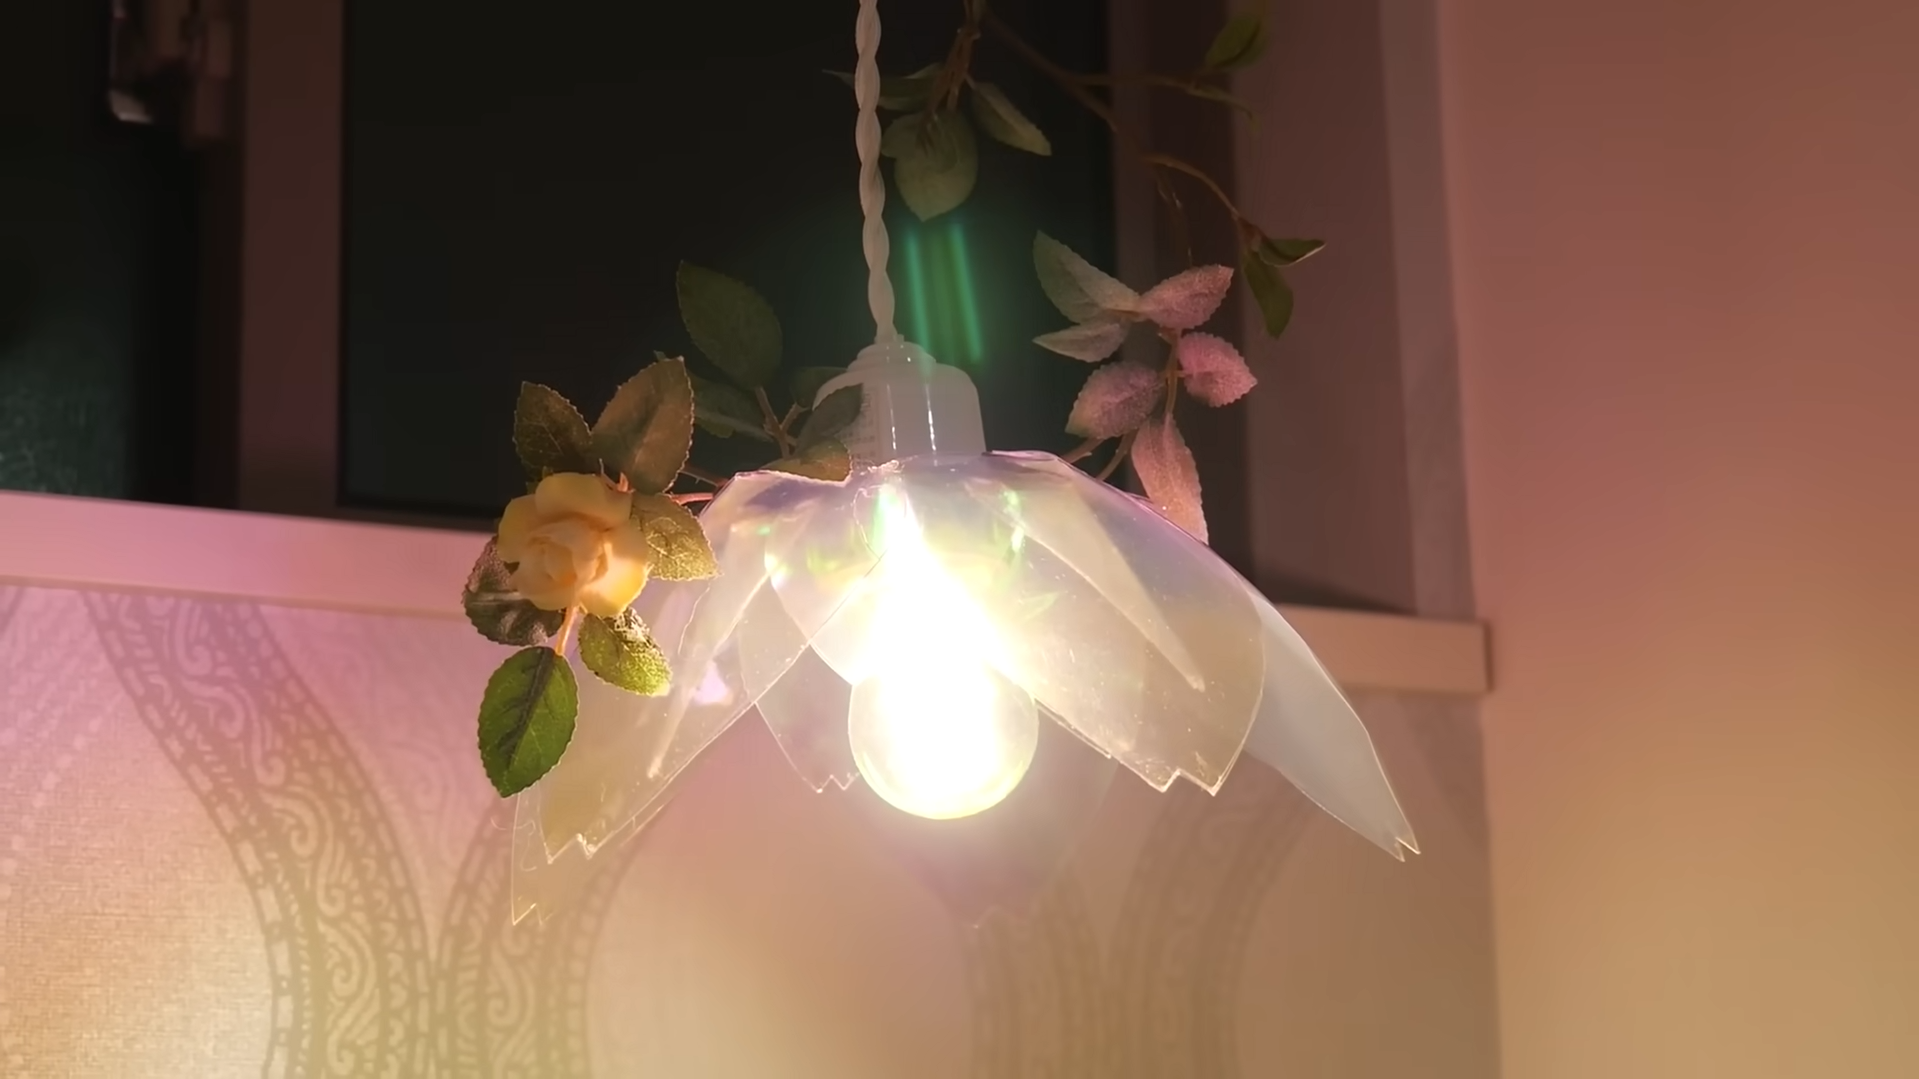
Rachel and Jun are back with another relaxed and creative video, and this time Rachel takes on a DIY home decor project. She decides to make a holographic sakura pendant light from scratch after not finding anything she likes for her space. If you’ve ever wanted to customize your home but didn’t know where to start, this is a fun and approachable idea. The process is simple overall, but it comes with a few challenges along the way. What makes it enjoyable is how real it feels, from testing ideas to fixing mistakes. In the end, it’s less about perfection and more about making something your own.
💡 What Is a Sakura Pendant Light?
This pendant light is inspired by sakura petals and designed to let light pass through to create soft, colorful reflections. Rachel wants something that looks nice during the day but also adds a cozy atmosphere at night. Instead of using common materials like paper or wood, she experiments with clear plastic and holographic sheets. This gives the lamp a slightly more modern and unique look. The idea is to build a layered, flower-like shape that interacts with light in an interesting way. Even though it sounds detailed, the concept is flexible and easy to adapt.
🛍 Materials You’ll Need
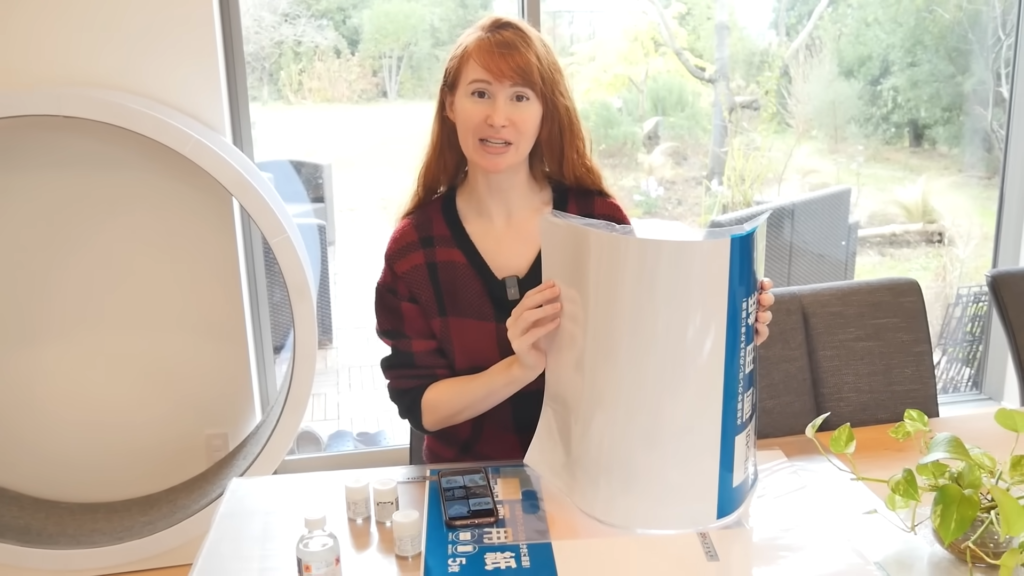
For this project, Rachel uses a mix of simple materials and a few that are slightly more challenging to handle. She starts with clear plastic sheets and holographic sheets to create the light effect. She also prepares glue, scissors or a cutter, and paper for testing her design first. A pendant light fixture and bulb are needed to complete the lamp. You can also add small decorations to personalize the final look. One thing she learns is that material choice matters a lot, so using something beginner-friendly can make the process easier.
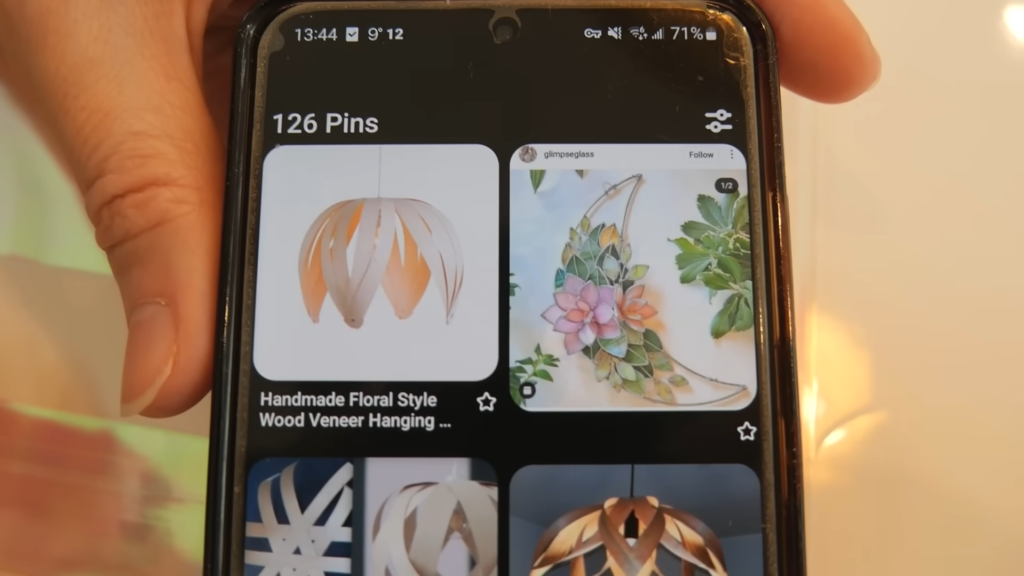
✂️ Step 1: Test Your Design First
Before cutting into the final material, Rachel tests different shapes using paper. She tries several designs and adjusts them until she finds one that looks balanced. The final design is inspired by sakura petals, with curved shapes that feel more natural. This step helps her understand how everything will fit together later. It also reduces mistakes when working with harder materials. Testing first is a simple step, but it makes the whole project smoother and less stressful.
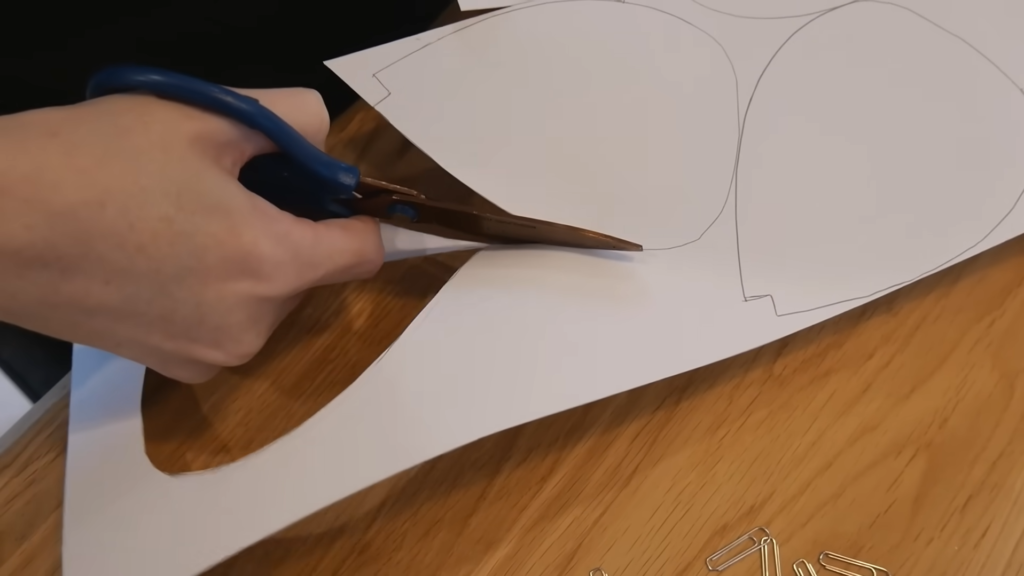
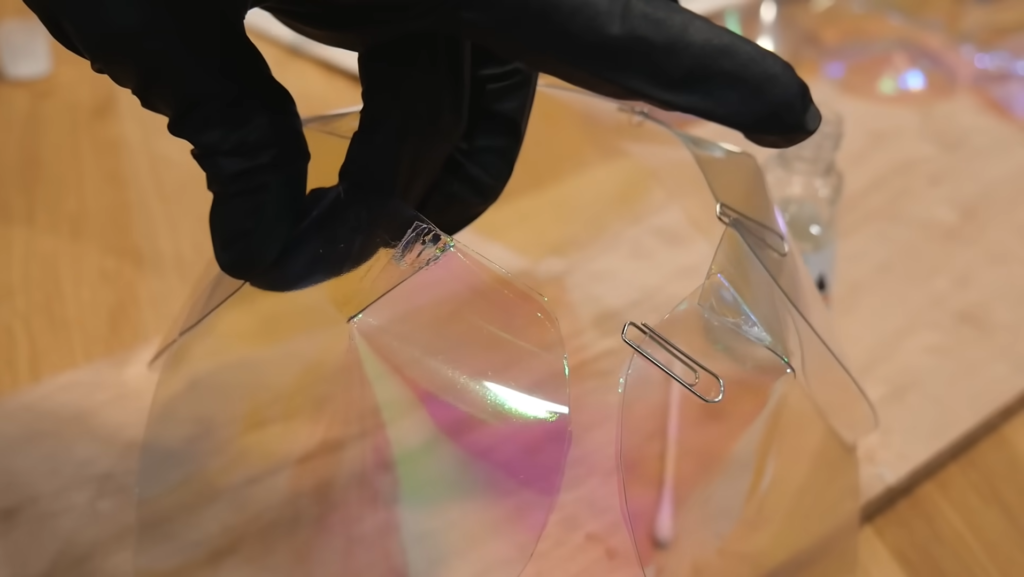
🧩 Step 2: Cut and Shape the Petals
Once the design is ready, Rachel transfers it onto the plastic and holographic sheets. She carefully cuts out each piece and adds small slits so the petals can bend slightly. This helps create depth and gives the lamp a more natural look. However, she quickly realizes that the material is harder to work with than expected. It takes patience and a bit of trial and error to get the shapes right. If you’re trying this yourself, softer materials like paper or fabric can be a good alternative.

🔧 Step 3: Assemble the Structure
After cutting the pieces, Rachel begins assembling the lamp. This turns out to be one of the trickiest parts of the project. The glue doesn’t always work as expected, and some adhesives are difficult to handle. She has to hold the pieces in place and adjust them multiple times to get the right shape. It’s a slow process, but taking time helps avoid bigger mistakes. This step shows that DIY projects often require patience and flexibility.
🎨 Step 4: Add Color or Effects
Rachel originally plans to paint the material to create color, but it doesn’t work well once light passes through it. The effect she wants doesn’t show clearly. Instead of forcing it, she switches to holographic sheets, which reflect light naturally and create a better result. This small change makes a big difference in the final look. It’s a good reminder that adjusting your approach can lead to better outcomes. Sometimes simpler solutions work better than complicated ones.
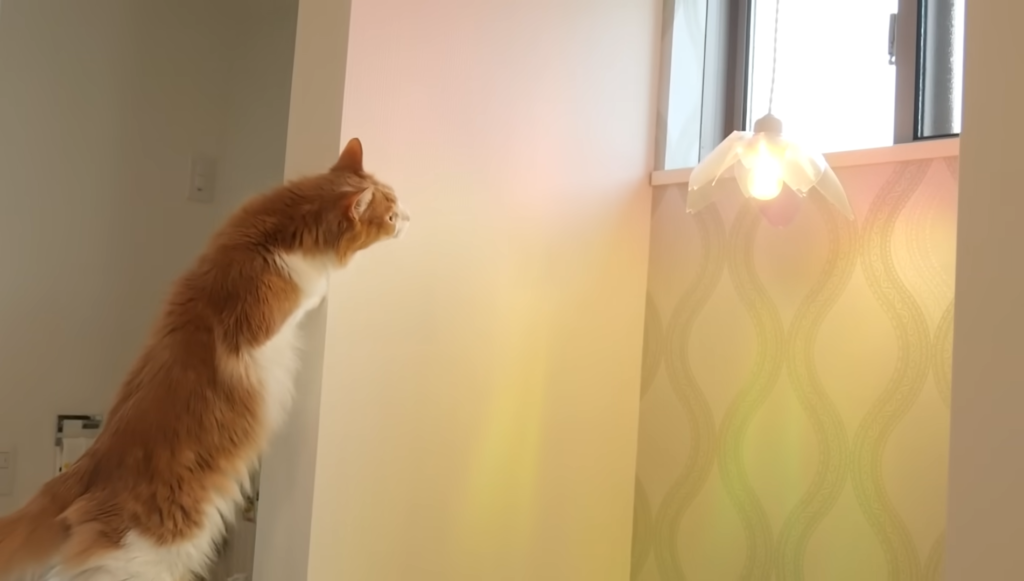
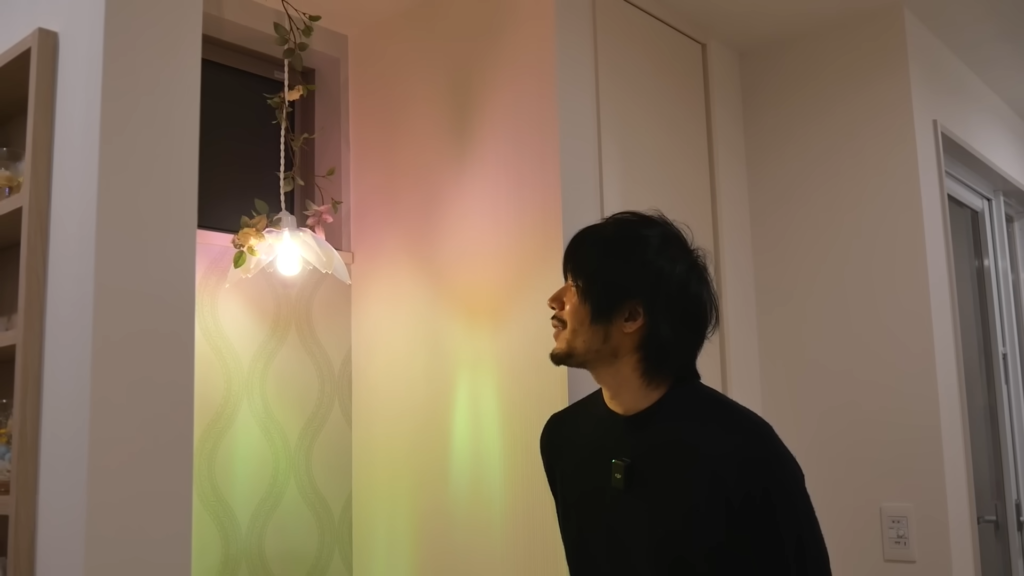
💡 Step 5: Install the Light
Once the structure is complete, Rachel attaches it to a pendant light fixture and adds a bulb. She tests how the light shines through the material and how it looks on the wall. At first, the light feels a bit too bright, so adjusting the bulb can improve the effect. This is the moment where everything comes together. You can finally see how your design works in real life. Small adjustments here can really improve the final result.
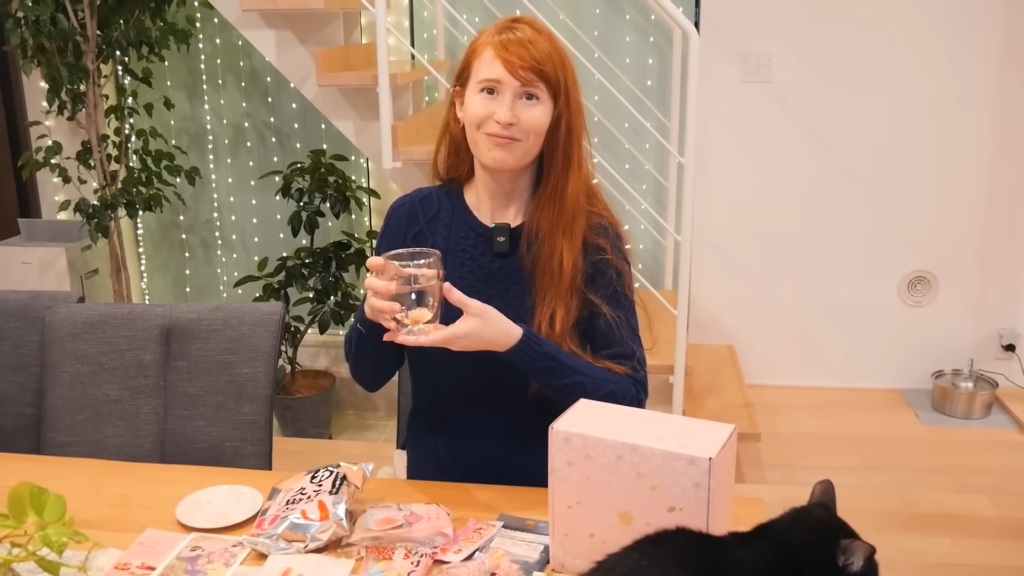
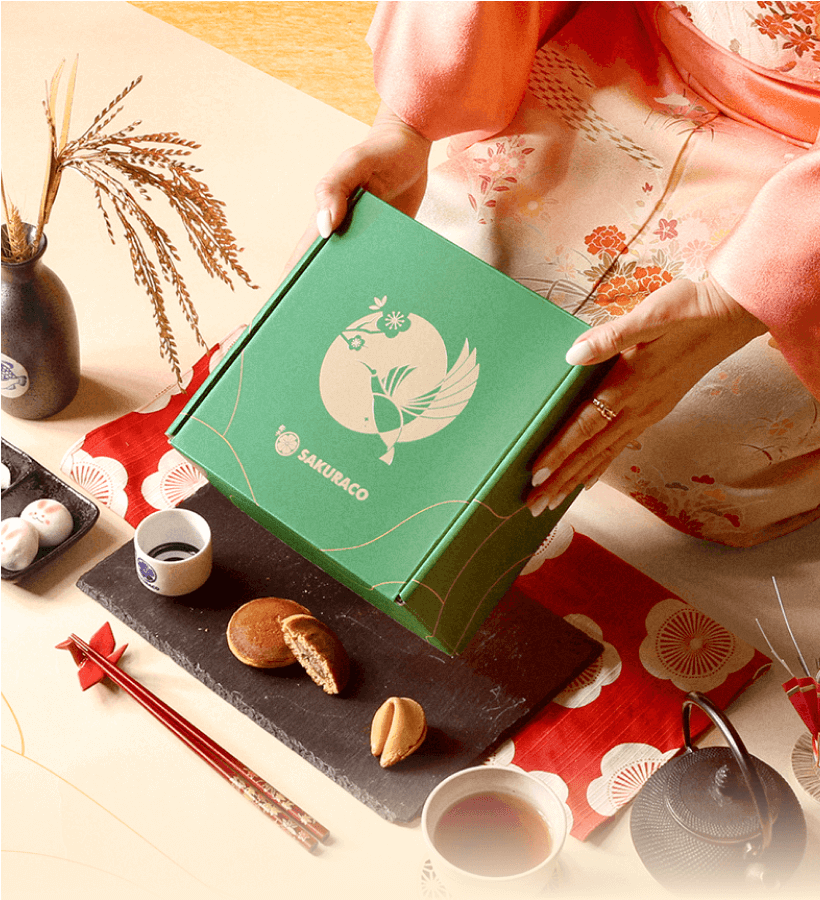
🎁 Take a Break with Japanese Snacks
While working on the project, Rachel and Jun take a break and enjoy snacks from Sakuraco. Sakuraco is a monthly Japanese snack subscription box that features traditional and seasonal treats. This month’s theme is sakura, with items like sakura tea, dorayaki, and sweets made with cherry blossom flavors. Each box also includes a booklet that explains the snacks and their background. It’s a simple and fun way to enjoy Japanese culture at home while taking a break.
🎟 Use code RACHELJUN and get $5 off your first Sakuraco box here.
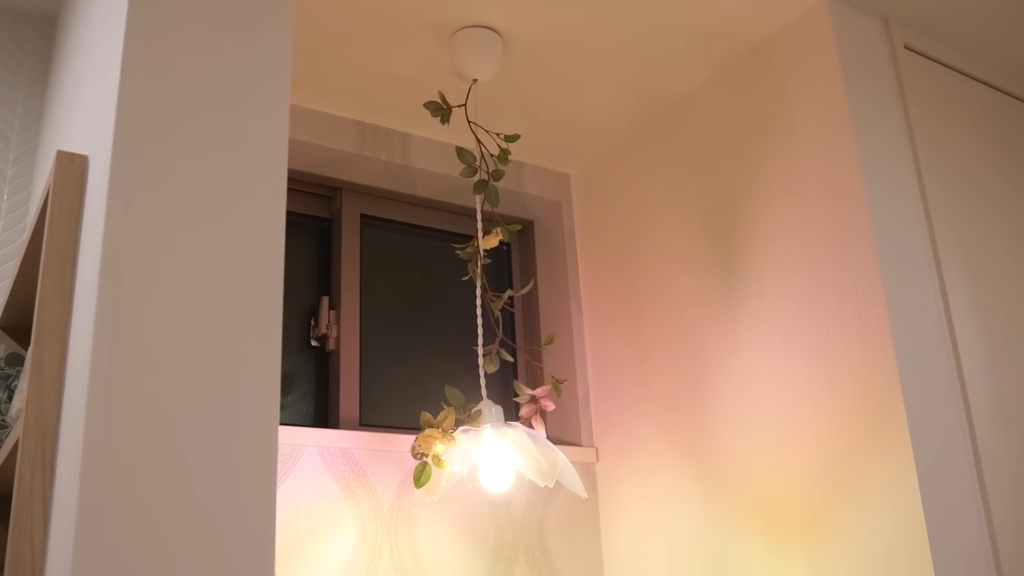
✨ Final Touches
After finishing the lamp, Rachel feels that something is missing from the design. It looks a bit too simple and not exactly what she imagined. So she adds a small decorative detail to improve the overall look. This small change makes a big difference and helps the lamp feel more complete. The light reflections also look better after this adjustment. It shows how even small changes can improve your final result.